The beauty of Chalk Paint is the fact that no sanding or priming is needed prior to painting. This means I can finish a project quickly and have the piece of furniture in its new home.
If you fancy having a go at this, here is what you will need:
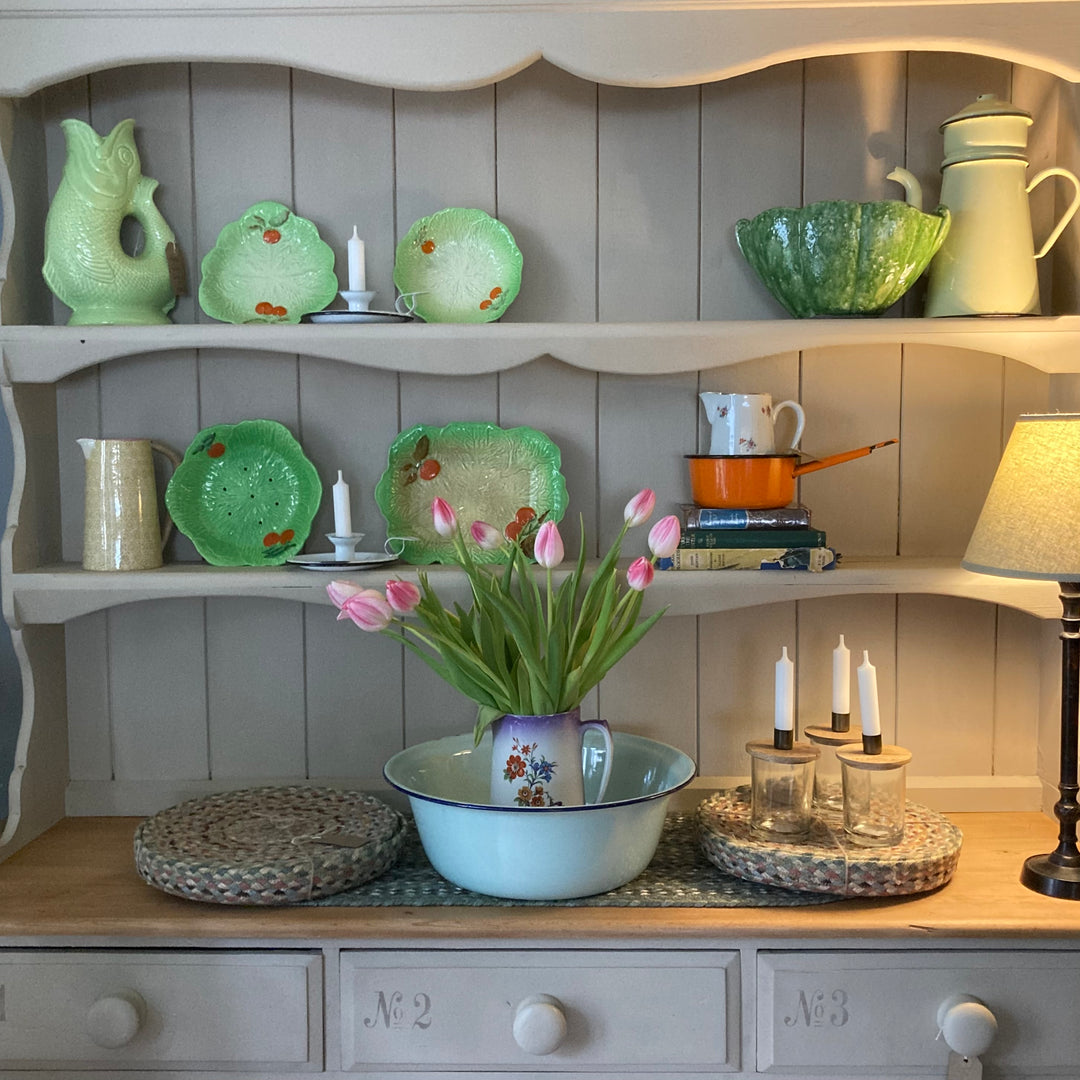
I decided on Annie Sloan’s Old Ochre, a beautifully soft cream, reminiscent of French furniture. I love this colour as it looks perfectly aged with the addition of dark wax. I’ll explain how below….
First of all I gave the drawers a quick clean, removing dust and some old cobwebs! I wanted an aged look, so I painted the edges of the pieces with some Duck Egg Blue. I was planning to rub the Old Ochre back a little so that this pretty colour would peek through.
The next step was to paint a two coats of Old Ochre. As I said I was aiming for an aged look, so using a Chalk Paint Bristle Brush, I painted in all directions giving me lots of texture. More on the reason for that below….
A question I am asked many times, is why do I need to wax?
Chalk Paint is a water based paint, without a protective coat of wax (or you could also use Lacquer) the paint will mark easily and cannot be washed. The wax will give you a lovely durable finish, and can be left matt or buffed for a shine.
- I use a Chalk Paint Wax Brush to apply my wax, this allows me to brush the wax into any texture on the piece, making sure that every part has a protective coating on it.
- I then use a lint free cloth to wipe away any excess. The idea is to build up several thin layers of wax.
- When you first put it on it should feel a little tacky. Any more than that and the wax will not’ cure’ and harden off and the furniture will feel sticky.
- Allow at least half a day between coats of wax.
To sand back or not to sand back? You will remember that I painted the edges of these cabinets with some duck egg blue. Less is more in my opinion with this. Imagine where the item of furniture would naturally wear and gently sand those spots. In this case, there is the merest hint of the duck egg showing, all adding to the lovely patina.
So now to the burning question about dark wax! I use dark wax to give an aged patina to my furniture.
- The first thing to know, is always apply dark wax on top of a coat of clear wax. Otherwise you will not be able to manipulate it as it will stick to the Chalk Paint itself.
- I always work in sections. I apply some of the dark wax, at this point you need to be brave, as it will look awful! Using a clean lint free cloth I ‘pull’ away the excess dark wax, pushing it into any texture.
- Finish with another coat of clear wax and voila, this orange pine piece now has a pretty aged painted finish.
Do you still have a burning question about Chalk Paint - check out my list of Top 10 FAQs
Or if you are ready to paint, head over to the Annie Sloan range and let me know if you have a go soon!
Love, Jill
PS - if you are new to Source for the Goose, keep up with the latest Chalk Paint products as well as other vintage style loveliness by signing up to my
VIP email!


